Is It Time To Organise Your Garage?
| December 8, 2020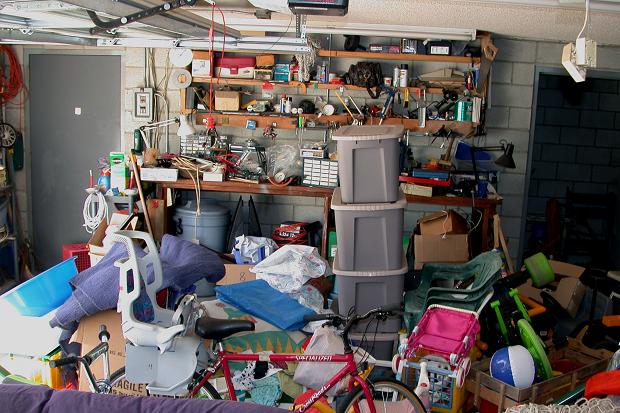
1. Assess, Analyze and Prioritize
One of the biggest problems you may encounter when you organize your garage (or any space that’s cluttered) is that there is no plan for the space. Folks fail to take time to analyze and visualize the space to figure out how they want it to function. What is your priority for your garage? To park your car (one of your biggest investments)? To have a workspace? To store seasonal items and sporting equipment? Or maybe all of the above? Well, you might be able to have all of that if you just take a moment and prioritize how you want to use the space. With your priorities in line, you’ll have an easier time purging and organizing the space because you’ll be able to determine what belongs in the space and what doesn’t.
2. Clear The Space
You’ll need to start with a clean slate. Get a couple of tarps and blankets to place your items on and lay them in an open area like the driveway or lawn. Once everything is out, be sure sweep and wash down the floors and walls.
NOTE: This may be a great opportunity to paint the walls and stain your concrete floor. It’ll give your space a fresh, clean, new look.
3. Sort By Putting Like Items With Like Items
As you pull things out of the garage, gather all of your sporting equipment together in one spot, then your tools, lawn gear, camping gear, decorations and so on. You can even get down to the itty bitty nails and screws…sort these out as well (this might be a good task for an older child to do for you). Sorting like items with like items may seem like a “no-brainer” but it is a key step in the organization process not only when you are sorting but when putting things back into their established zones.
4. Start Purging!
Be ruthless in this step. Try to commit to getting rid of 50% of the stuff in your space. Even if you don’t get rid of that much, making the effort will go a long way. To purge, start by making four piles: keep, donate, trash, recycle. As you purge, place each item into its respective category. Get rid of anything that is broken or things you haven’t used in over a year. Return items that don’t belong to you or belong somewhere else other than the garage. Get rid of duplicates. Remember…you’re trying to organize your garage…how many hammers, screws, brooms, basketballs, bats and rakes do you really need? If you’re having trouble getting rid of stuff remember to ask yourself these questions: Do I love it? Do I use it? Have I used it in the last year? Do I really need it? If not…put them in the donate, trash or recycle piles. Donating items is a wonderful thing because you’re giving someone else the chance to enjoy and appreciate your items.
5. Take Inventory of What You Have Then Map Out Your Space and Create Zones
Now that you’ve cut down all of your stuff, take inventory of what you have that way you’ll have a better of idea of what organizational items you can work with or what you’ll need to purchase. NEVER purchase organizational products before you’ve purged…it’ll save you time, money and frustration. Now, map out the space. Draw it out on paper or use masking tape to mark off outlines of the different spaces/work zones. You can mark off the spot reserved for your car, heavy duty shelving, paint and hazardous material cabinet, sports equipment, lawn care supplies, tools shed or workbench and bike/recreational equipment. Don’t forget to go vertical and overhead. Consider your walls to hang items or install shelving. And what about the ceiling? You may be able to put plywood boards along rafters to store seasonal or seldom used items. Also think about convenience and frequency of use. For example, you probably want a trashcan near the driver’s side door of your parked car so that you can easily throw away items. Or place your recycling bins next to the door leading into the house to make it easy to toss items into them. Or how about hanging /parking the bikes near the garage door so it’s easier for the kids to grab their bikes and go!
NOTE: At this point, if you don’t think you’ll have enough space for all of your zones, you may need to go back and purge some more. Just remember your priorities and stay focused on creating a useable and functional garage!
6. Determine Your Organizational Supplies
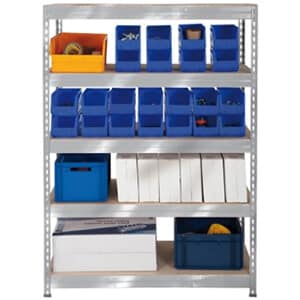
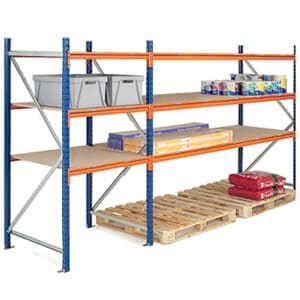
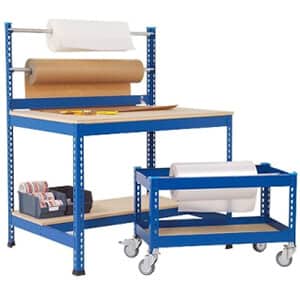
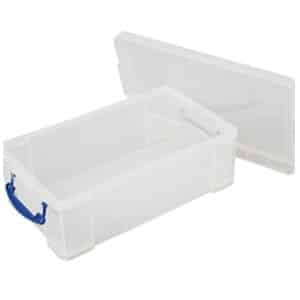
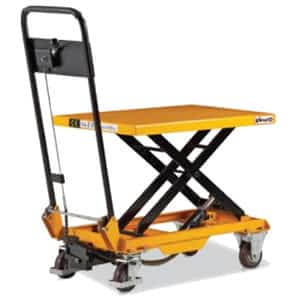
Now that you’ve mapped out your zones, gather your supplies. Use large trash cans to store rakes, shovels and brooms upright. You can also use a large trash can to store sporting equipment like, skateboards, balls, bats and gloves. Use pegboards to hang tools. Use large hooks mounted to studs in the wall or ceiling to hang bicycles and extension cords. Consider getting a cabinet with locking doors to store paint, chemicals, cleaning supplies and any other hazardous materials. Get some solid wood or metal shelves to store heavy equipment and storage bins. Use clear plastic containers to store like items (this makes it easier for you to see what’s in the container). Consider a rolling tool rack/cabinet to transport supplies while keeping them organized. Use glass jars or small plastic containers to keep nails, screws, nuts, hooks, and washers organized. Use tin cans to store paint brushes or screwdrivers. Get a door mat to dust of shoes before entering the house. And get a label maker! Labels will help you organize your “stuff” like never before! When you organize your garage, you organize your DIY project workflow, which makes things LOTS easier!
And finally…
7. Put Everything Away In Its Proper Zone and Label Everything You Can!
This is the fun part because the finish line is in sight! Start putting things away in their designated zone and start labeling. I am a huge fan of label makers. It just makes it easier to find and put things away. Label makers are great for labeling cords, containers, drawers, boxes and shelves. If you don’t have a label maker, use masking tape or duct tape and a permanent marker. Be sure to label the front and sides of storage bins so you’ll be able to read them no matter which way you face them. The ideas are endless when it comes to labeling. You may want to check out my post on label makers. The bottom line, label as much as you can..it is another very important element to organizing.


